
Fix Windows Activation Error 0xC004F213 (After Hardware Change)
You recently upgraded your gaming PC—maybe a new motherboard, CPU, or a faster SSD. You boot up Windows 11, expecting everything to be fast and smooth. Instead, you see a watermark in the corner: “Activate Windows.”
When you check Settings, you see this error message:
“Windows reported that no product key was found on your device. Error code: 0xC004F213”
This error happens because Windows links your Digital License to your specific motherboard ID. When you change the hardware, Microsoft thinks you are trying to use the same license on a completely new computer.
Don’t panic. You usually do not need to buy a new key. Here are 3 tested ways to transfer your license and fix this error.
Why Is This Happening?
Windows 10 and 11 use a “Digital Entitlement” system.
-
The Problem: Your “fingerprint” (Hardware ID) has changed. The Microsoft servers don’t recognize your PC anymore.
-
The Good News: If you linked your license to your Microsoft Account before the upgrade, you can transfer it in 5 minutes.
Method 1: Use the Activation Troubleshooter (The Official Fix)
This is the hidden tool Microsoft built exactly for this situation.
-
Press Win + I to open Settings.
-
Go to System > Activation.
-
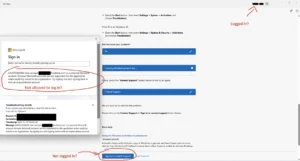
You will see the “Not Active” status. Click the Troubleshoot button.
-
The tool will run and say: “We can’t activate Windows on this device.”
-
Look closely: Click the link at the bottom that says “I changed hardware on this device recently”.
-
A window will pop up asking you to sign in to your Microsoft Account.
-
Select your Current PC from the list of devices and click Activate.
Note: If you don’t see your device, you might not have linked your account before the swap. Try Method 2.
Method 2: Use the Generic Key to Trigger Reactivation
Sometimes the system is stuck searching for an “OEM Key” (the one from the factory) instead of your digital license. We can force it to look again using a generic key.
-
Right-click the Start button and choose Terminal (Admin) or Command Prompt (Admin).
-
Type the following command (this is the generic Windows 11 Pro key, used only for triggering checks, not for piracy):
DOS
slmgr /ipk VK7JG-NPHTM-C97JM-9MPGT-3V66T(If you have Windows 11 Home, use:
YTMG3-N6DKC-DKB77-7M9GH-8HVX7) -
Press Enter. You will see a popup saying “Installed product key successfully.”
-
Restart your computer.
-
Go back to Activation Settings. Windows will now attempt to connect to the server and find your digital license.
Method 3: Contact Microsoft Support (The “Nuclear” Option)
If the troubleshooter fails, the automated phone system can reset your Hardware ID for you.
-
Press Win + R, type
slui 4, and hit Enter. -
Select your Country (e.g., India, US, UK).
-
Call the Toll-Free Number shown on the screen.
-
An automated bot will ask for your Installation ID (shown on your screen). Enter it using your phone keypad.
-
The bot will verify the ID and give you a Confirmation ID.
-
Type that ID into your PC and click Activate Windows.
Conclusion
Error 0xC004F213 is scary, but it’s just a security check. Method 1 works for 90% of users who have a Microsoft Account.
💡 Read Also on The Geek Solutions:
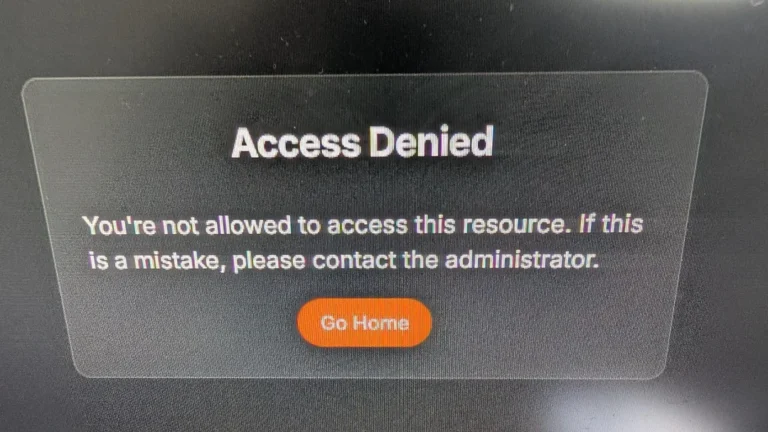
Update Failed? Fix Windows Update Error 0x80070005 “Access Denied”
Store Issues? Solved: Microsoft Store Error 0x80131500
Did the troubleshooter find your new hardware? Let us know in the comments!