
How to Speed Up Windows 11 for Gaming & Performance (2025 Guide)
Windows 11 looks beautiful, but it comes with a cost: it is heavy. Out of the box, it is loaded with animations, tracking services, and “bloatware” that run in the background, eating up your RAM and CPU.
If you have a budget laptop or an older PC, you might notice lag when opening folders, stuttering in games, or just a generally slow experience.
You don’t need to buy a new computer. By tweaking hidden settings and disabling useless features, you can make Windows 11 fly.
Here is the ultimate guide to speeding up Windows 11 without breaking your system.
1. Disable “Virtualization-Based Security” (Massive FPS Boost)
This is a hidden security feature that creates a virtual layer for memory isolation. While good for enterprise, it kills gaming performance by up to 25%.
-
Press the Start button, type
Core Isolation, and press Enter. -
Look for the toggle Memory Integrity.
-
Turn it OFF.
-
Restart your computer.
Note: You will immediately notice games feel smoother because the CPU doesn’t have to process that extra virtualization layer.
2. Debloat Windows (Remove Pre-installed Junk)
Windows 11 installs apps you never use (like Clipchamp, Solitaire, News, etc.). These run in the background.
-
Right-click the Start button > Installed Apps.
-
Scroll through the list. If you see an app you don’t know (e.g., “Microsoft News” or “Feedback Hub”), click the three dots > Uninstall.
-
Pro Tip: Do not uninstall apps named “Microsoft Visual C++” or “Realtek,” as these are drivers.
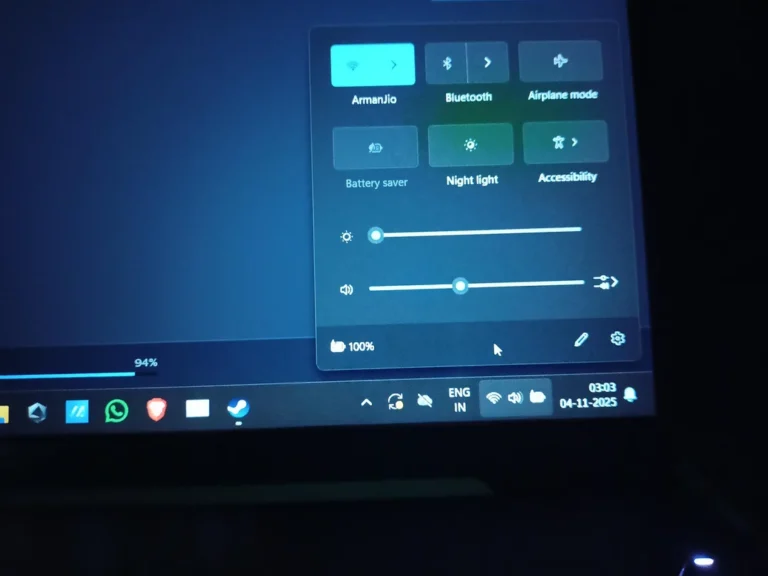
3. Switch to “Ultimate Performance” Power Plan
By default, Windows sets your PC to “Balanced” to save electricity. We want speed, not energy savings.
-
Press Start, type
cmd, right-click Command Prompt, and select Run as Administrator. -
Copy and paste this command:
DOS
powercfg -duplicatescheme e9a42b02-d5df-448d-aa00-03f14749eb61 -
Press Enter.
-
Now, open Control Panel > Power Options.
-
Expand “Show additional plans” and select Ultimate Performance.
4. Turn Off Animations & Shadows
This makes the UI feel “snappy” instantly.
-
Press Win + I > Accessibility > Visual Effects.
-
Toggle OFF “Transparency effects” (This saves GPU resources).
-
Turn OFF “Animation effects.”
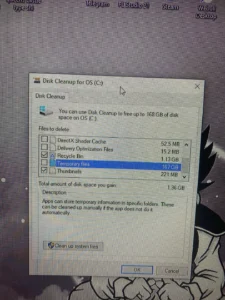
5. Clean Up Temporary Files (Storage Sense)
A full hard drive slows down Windows significantly.
-
Go to Settings > System > Storage.
-
Click on Temporary files.
-
Check the boxes for “Windows Update Cleanup,” “Thumbnails,” and “Temporary Internet Files.”
-
Click Remove files.
Frequently Asked Questions (FAQs)
Q: Will turning off Memory Integrity expose me to viruses? A: For home users who just play games and browse trusted sites, the risk is minimal. However, if you download “cracked” software often, keep it ON.
Q: Does upgrading to 16GB RAM help? A: Yes. Windows 11 alone uses about 4GB. If you have 8GB total, you only have 4GB left for apps. Upgrading to 16GB is the best hardware upgrade you can make.
Conclusion
You don’t need a $2000 PC to have a smooth experience. Steps 1 and 3 alone usually provide a 20-30% performance boost for gaming.
💡 Read Also on The Geek Solutions:
Still Lagging? 5 Best Free Screen Recorders for Low-End PCs
System Crash? Fix CRITICAL_PROCESS_DIED Blue Screen on Windows 11
Did the “Ultimate Performance” command work for you? Let us know in the comments!