How to Reduce Your Electricity Bill in India: What Actually Works

My electricity bill last July was ₹4,200. The July before that it was ₹2,800. Same flat, same number of people, same city. The difference was one additional air conditioner that we ran carelessly — no temperature discipline, no timer, running through the night.

I spent an afternoon reading about electricity consumption and made five changes. The August bill was ₹2,600 — lower than the previous year despite still using the AC.

Here is exactly what made the difference.


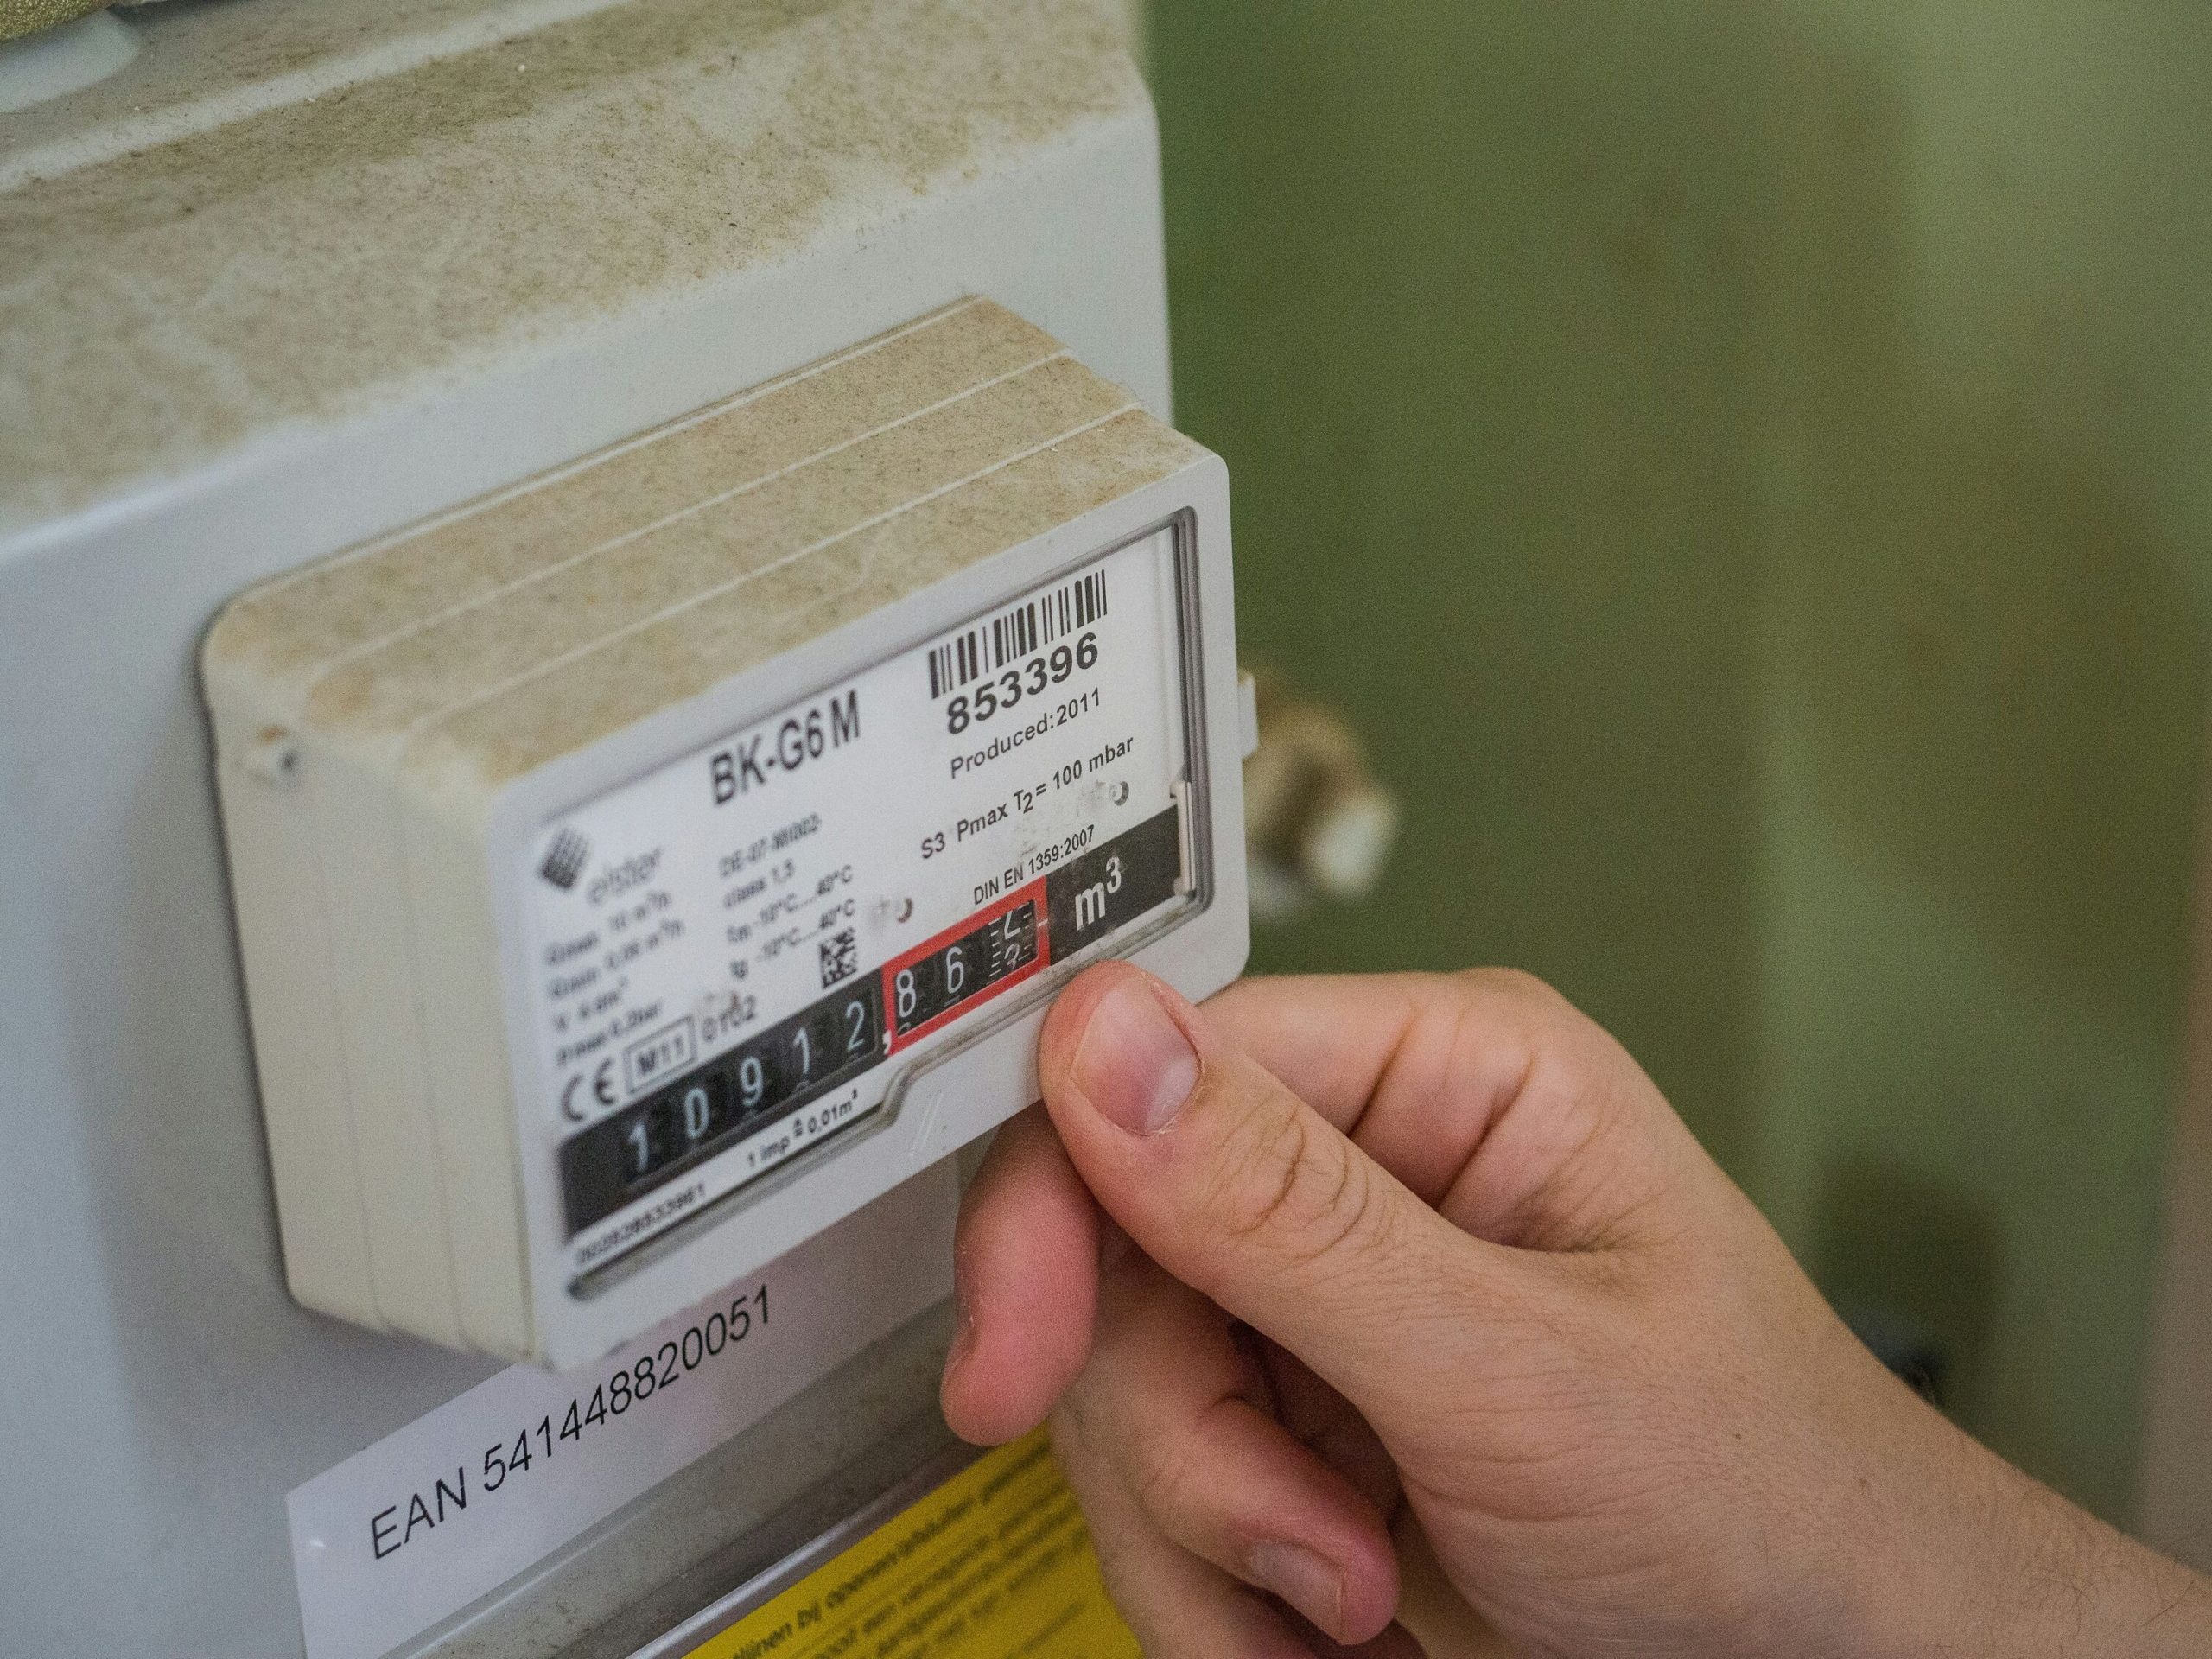
Understand Your Bill First

Before reducing your bill you need to understand what is driving it. Most Indian electricity bills show units consumed (kWh) rather than appliance-by-appliance breakdown.

The heaviest consumers in a typical Indian household in order:

  1. Air conditioner — 1.5 ton AC uses approximately 1.5 units per hour
  2. Geyser/water heater — uses 2 units per hour but typically runs only 15–20 minutes
  3. Refrigerator — runs 24 hours but modern BEE 5-star rated fridges use only 1–1.5 units per day
  4. Washing machine — 0.5–1 unit per wash cycle
  5. Ceiling fans — surprisingly low at 0.075 units per hour each

If your bill is high the answer is almost certainly your AC usage.


The AC Changes That Made the Biggest Difference

Set temperature to 24°C minimum Every degree below 24°C increases AC power consumption by approximately 6%. Running at 18°C versus 24°C costs roughly 36% more electricity. 24°C with a ceiling fan feels exactly as comfortable as 20°C without one.

Use the timer — every single night Set the AC to turn off 2 hours after you fall asleep. You do not need it running at full power all night. The room stays cool for 2–3 hours after the AC turns off. This one change reduced my bill by approximately ₹400 per month.

Clean the filter every month A dirty filter makes the AC work harder to push air through. Cleaning takes 10 minutes with running water. A clean filter improves efficiency by 5–15% depending on how dirty it was.

Service the AC before summer Annual servicing costs ₹500–₹800 and ensures the refrigerant level is correct and coils are clean. An underserviced AC can use 20–30% more electricity than a properly maintained one.


The Geyser — Easy Savings

Geysers are power-hungry but easy to manage.

Turn it on 15 minutes before use — not an hour before Modern geysers heat water in 10–15 minutes. Turning it on 45 minutes before your shower and leaving it on wastes significant electricity keeping water hot that then cools down.

Set the thermostat to 55°C Most geysers come set to 60–65°C which is hotter than necessary for bathing. 55°C is comfortable and uses less electricity to maintain.

Consider a solar water heater If you live in your own house with roof access a solar water heater costs ₹15,000–₹25,000 to install and eliminates your geyser electricity cost almost entirely. Payback period in most Indian cities is 2–3 years. After that it is essentially free hot water.


Refrigerator — Small Changes, Real Savings

Do not place it near the stove or in direct sunlight A fridge placed near a heat source works harder to maintain internal temperature. If possible keep it in the coolest part of the kitchen.

Leave space behind it The compressor coils at the back need airflow to dissipate heat. A fridge pushed flush against the wall runs hotter and less efficiently. 10 cm of space behind makes a measurable difference.

Do not put hot food directly inside Let food cool to room temperature before refrigerating. Hot food raises the internal temperature and makes the compressor work harder.


Lighting — Switch to LED If You Have Not Already

If you are still using tube lights or CFL bulbs anywhere in your home switching to LED is the single fastest payback investment in home electricity savings.

A 10-watt LED produces the same light as a 40-watt CFL. The LED costs ₹80–₹150 and lasts 25,000 hours. The electricity saving pays for the LED in approximately 3 months of normal use.

Every non-LED bulb in your home is costing you more money every month than the LED replacement costs.


The BEE Star Rating — Always Check Before Buying

Every new appliance in India carries a BEE (Bureau of Energy Efficiency) star rating from 1 to 5. Five stars is the most efficient. The difference between a 3-star and 5-star AC over 5 years of use can be ₹15,000–₹20,000 in electricity costs.

When buying any new appliance — AC, refrigerator, washing machine, geyser — always choose 5-star rated models. The upfront cost is slightly higher. The lifetime cost is significantly lower.

Check ratings at the official BEE portal: beestarlabel.com


Realistic Savings Estimate

For a typical Mumbai household spending ₹3,000–₹4,000 per month on electricity these changes combined typically save ₹600–₹1,200 per month. Annual saving: ₹7,000–₹14,000. That is real money requiring no investment beyond behaviour changes and one AC service call.

Aam ka Achar Recipe: The Mango Pickle My Mother Made Every April

Introduction: The Jar on the Kitchen Shelf

Every Indian home of a certain generation had a pickle shelf. Ours was in the kitchen, near the window that got afternoon sun. There were always at least four jars — a lime one, a mixed vegetable one, some namkeen that had been there since possibly before my birth, and the aam ka achar.

The mango pickle was the one we rationed. My mother made it only once a year, in April, when raw Rajapuri mangoes appeared in the Crawford Market. She would buy five kilos, supervise the cutting, and then take over completely for the spicing. The rest of us watched. We were not permitted to help. We did not understand why until we were adults and understood how easy it is to ruin a jar of pickle through one wet spoon.

This recipe is hers, written down properly for the first time.

The Right Mangoes — This Step Is Critical

Not every raw mango works for pickle. You want raw, completely unripe mangoes that are firm, tart, and have thick skins. Varieties that work well: Rajapuri, Totapuri, Langda (when fully raw). Avoid mangoes that have any yellow colouration — they are beginning to ripen and will turn soft in the pickle.

The mango should be so sour that it makes your mouth pucker when you taste a raw piece. That sourness is the backbone of the pickle.

Ingredients (Makes approximately 1.5 kg pickle)

  • 1 kg raw green mangoes, washed and dried thoroughly
  • 3 tbsp mustard oil (for the initial coating)
  • 4 tbsp mustard oil (for pouring over at the end)
  • 2 tbsp salt (for initial drawing out of moisture) + 2 tbsp for the spice mix
  • 2 tbsp red chilli powder
  • 1 tbsp Kashmiri red chilli powder (for colour)
  • 2 tbsp fennel seeds (saunf), coarsely crushed
  • 5 tbsp nigella seeds (kalonji)
  • 1 tbsp fenugreek seeds (methi), lightly crushed
  • 1 tsp turmeric
  • 1/2 tsp asafoetida (hing)

Equipment needed: — Completely dry glass jar with tight lid (1.5 to 2 litre capacity) — Dry clean knife and chopping board — Dry clean bowls throughout — No moisture anywhere at any point

Method

Step 1 — Dry the mangoes: After washing, wipe each mango completely dry with a clean cloth. Then leave them in sun or under a fan for 2 hours. Any moisture is the enemy of pickle.

Step 2 — Cut the mangoes: Using a completely dry knife, cut mangoes into large pieces — roughly 2 to 3 cm chunks. Keep the skin on. Remove the seed but keep the fibrous part around it — it has flavour. Place cut pieces in a large dry bowl.

Step 3 — Salt and draw moisture: Sprinkle 2 tbsp salt over the mango pieces. Mix well. Leave in the bowl for 4 to 6 hours. The salt draws out moisture from the mangoes. After this time, you will see liquid pooled at the bottom. Drain this liquid completely and discard. Pat the mango pieces dry with a cloth.

Step 4 — Spice and oil: In a large dry bowl, mix together all the spices: red chilli powder, Kashmiri chilli powder, fennel seeds, kalonji, fenugreek seeds, turmeric, hing, and remaining 2 tbsp salt. Add 3 tbsp mustard oil to this spice mix and stir to combine. The mixture will smell intensely pungent — this is correct. Add the drained mango pieces. Mix thoroughly until every piece is well coated.

Step 5 — Jar the pickle: Pack tightly into the dry glass jar. Press down firmly so there are no air pockets. Pour 4 tbsp mustard oil over the top — the oil should cover the top surface of the pickle. Close tightly.

Step 6 — The waiting period: Place the jar in a sunny spot for 5 to 7 days. Each day, open the jar using a completely dry spoon, mix the contents, and press back down. Close tightly. After 7 days, taste a piece. It should be tangy, spiced, and the raw edge of the spices should have mellowed. It can be eaten from this point but improves dramatically over 3 to 4 weeks.

What Goes Wrong (And Why Your Grandmother’s Was Better)

Pickle turned soft or mushy: Moisture got in at some point — either the mangoes were not dry enough before cutting, or someone used a wet spoon to remove pickle from the jar. Once soft, the pickle cannot be recovered.

Mold appeared on top: The oil layer on top was not enough, or the jar was not sealed properly. Always ensure the oil completely covers the top surface.

Pickle is too bitter: The fenugreek seeds were not crushed lightly — they released too much. Use lightly crushed, not powdered.

Not sour enough after weeks: Your mangoes were not sour enough to begin with. Check sourness before buying.

Why Grandmothers Were Better: They had experience reading the mangoes, they never rushed the drying step, and they used stone jars (bharni) that maintain consistent temperature. Modern glass jars work well but require more attention to sun placement.

Storage and Use

Once ready, the pickle keeps for 6 to 12 months at room temperature if you follow the golden rule: never introduce moisture. Every time you take pickle from the jar, use a completely dry spoon, close the jar immediately, and ensure oil is covering the surface.

In Mumbai summers, leave the jar in a spot that gets 2 to 3 hours of afternoon sun. In the monsoon, bring it inside and keep in a cool, dry spot.

Serve as a condiment with dal-rice, with thepla for breakfast, or just eat with plain roti when nothing else is available — which, if you are honest about it, is when pickle tastes best.

Coorg Travel Guide 2026: What Nobody Tells You Before Your First Trip to Kodagu

Introduction: The Drive That Changes Everything

I had read approximately fifteen articles about Coorg before I went. All of them said the same things: Scotland of India, coffee plantations, misty hills, Abbey Falls, Raja’s Seat. I nodded at each of these facts and filed them away and thought I understood what Coorg was.

Then I actually drove into Coorg from Mysore on a October morning — through the ghats, where the road narrows and the trees close in overhead and the temperature drops four degrees in the span of two kilometres — and I understood that no article had actually described the feeling of arriving there. The air smells of coffee and wet earth and something else that I cannot name and have not smelled anywhere else. The hills are so green they look slightly unreal, like someone has adjusted the saturation on a photograph. The mist sits in the valleys below the road and moves slowly and does not hurry.

Coorg is not like other hill stations. It does not have a mall road with shops selling identical woollen shawls. It does not have a main market with tourist restaurants serving “Chinese” food. It is quieter than that, more spread out, more agricultural. The entire district is essentially a large estate — coffee, pepper, cardamom — with roads running through it and homestays built into the corners of properties.

This guide is what I wish someone had told me before I went. The practical things, the honest things, and the things that make it worth going.

When to Go — The Honest Answer

Every travel website says October to March is the best time to visit Coorg. This is correct but incomplete.

October to February: The ideal window. Clear skies, cool temperatures (12 to 22 degrees Celsius), coffee harvest season from November onwards. The coffee estates are at their most beautiful — red coffee cherries on green plants, the air smelling of drying beans. This is the Coorg most people photograph.

March to May: Warmer (up to 30 degrees in the valleys), drier, and significantly less crowded. The hills are slightly less lush but the waterfalls are still running. Hotels are cheaper. Roads are easier. If you dislike crowds and can handle warmth, this window is underrated.

June to September: Monsoon. Coorg receives heavy, serious rainfall during these months — among the highest in Karnataka. Roads become unpredictable. Some routes to homestays get cut off. Many smaller waterfalls become dangerous. The landscape is extraordinarily beautiful in a dramatic, grey-green way. Go only if you are comfortable with uncertainty and do not have a rigid itinerary.

The most important thing nobody tells you: long weekends and December-January are absolute peak season. Every homestay in Coorg is booked weeks in advance. Prices double or triple. The roads from Bangalore on Friday evenings become nightmares. Book three to four weeks in advance for any holiday weekend. For a regular mid-week trip in the off-season, you can find good homestays with one week’s notice.

How to Get to Coorg

From Bangalore (most common route):

Distance: approximately 250 to 270 km depending on your destination within Coorg. The district is large — Madikeri (the main town) is different from Virajpet, Gonikoppal, or Kushalnagar.

By road: 5 to 6 hours by car via Mysore (the smoother, more scenic route) or directly via NH275. The Mysore route is recommended — better roads and the Mysore-Coorg stretch through the ghats is genuinely beautiful. Hire a cab or drive yourself. KSRTC buses run from Bangalore to Madikeri but take 7 to 8 hours and are not suited for families with luggage.

Nearest railway station: Mysore (for most of Coorg) or Thalassery on the Kerala side. From Mysore, it is another 2 to 2.5 hours by road. There is no railway line into Coorg itself — the terrain does not permit it.

Nearest airport: Mysore Airport (small, limited flights) or Mangalore Airport (for south Coorg). Most people fly to Bangalore and drive. This is the practical answer regardless of what the distance calculator tells you.

From Mumbai:

Fly to Bangalore (1.5 hours, multiple daily flights) and then drive, or fly to Mangalore and drive 3 hours to south Coorg. The Mangalore route is less commonly known and significantly less crowded — Virajpet and the southern part of the district are quieter and equally beautiful.

Where to Stay — Homestay vs Resort

Coorg has two accommodation categories that matter: homestays and resorts. Everything else — cheap hotels in Madikeri town — is functional but misses the point of being in Coorg.

Homestays (the right choice for most people):

Staying in a Kodava family’s homestay on their coffee or pepper estate is the experience that makes Coorg distinct from any other hill station. You wake up surrounded by the estate, drink the family’s own coffee at breakfast, and often get home-cooked Kodava food for meals. Prices range from Rs. 2,500 to Rs. 6,000 per night for a couple including meals. This is genuinely good value.

What to look for: whether meals are included (essential — cooking your own food or driving to a restaurant twice a day wastes half your trip), whether the property is on a working estate (not just a building that calls itself a homestay), and honest reviews about road access during rain.

Resorts (if budget is not a concern):

Coorg has several well-regarded resorts — Evolve Back (formerly Orange County) is the most famous and genuinely exceptional. Budget: Rs. 15,000 to Rs. 35,000 per night. Worth it if you want a complete experience with activities, spa, and food included. Book far in advance.

What to Eat in Coorg — The Kodava Kitchen

Kodava cuisine is one of the least-known regional cuisines in India and one of the most distinctive. It is heavily meat-based, uses very little oil compared to other South Indian cooking, and has a unique flavour profile from the use of kachampuli — a sour, dark vinegar made from the Garcinia fruit that is found only in this region.

  • Pandi curry: The signature dish of Coorg. Pork cooked with kachampuli and spices until the meat is almost black and deeply fragrant. It tastes nothing like any pork curry you have eaten elsewhere. Every Kodava family has their own recipe and considers theirs definitive.
  • Kadambuttu: Steamed rice dumplings — soft, slightly sticky, served alongside pandi curry or chicken curry. The combination of kadambuttu and pandi curry is the meal by which all Coorg visits are remembered.
  • Noolputtu: Rice noodles, pressed by hand into thin strands and steamed. Lighter than kadambuttu and typically eaten at breakfast.
  • Bamboo shoot curry: A seasonal preparation using young bamboo shoots from the forests. Available in homestays that still follow the traditional calendar.
  • Coorg coffee: The district grows some of Karnataka’s finest coffee. Drink it black if you can, prepared as a proper South Indian filter coffee — strong decoction mixed with hot milk, served in a tumbler and dabarah set.

Where to eat: Your homestay is the best place for authentic Kodava food. In Madikeri town, Capitol Village restaurant and Hotel East End have reliable local food. Avoid the tourist restaurants near Abbey Falls that serve pan-Indian menus at inflated prices.

What to Actually Do in Coorg

The honest answer is: less than most itineraries suggest, and more slowly than you think you need to.

  • Walk through a coffee estate: Your homestay will likely have one. Ask them to take you through it in the morning. Seeing how coffee grows — from flower to cherry to bean — changes how you drink coffee permanently.
  • Abbey Falls: Yes, it is touristy. Go early morning — before 8am — and it is genuinely beautiful. After 10am it is crowded and the magic is reduced significantly.
  • Raja’s Seat: A garden viewpoint in Madikeri that the kings of Coorg used as a sunset-watching spot. Worth visiting at sunset. The view over the valleys is excellent. Ignore the musical fountain that runs in the evenings.
  • Namdroling Monastery, Bylakuppe: About 35 km from Madikeri. One of the largest Tibetan Buddhist settlements outside Tibet, with a golden temple complex that is completely unexpected in the middle of Karnataka. Worth a half-day. Early morning is best when monks are doing prayers.
  • Dubare Elephant Camp: Where elephants from the forest department are brought for bathing and care. You can assist with elephant bathing at 7am. Book in advance through the forest department website. Avoid the private camps nearby that have less ethical practices.


Budget Breakdown — 3 Nights in Coorg

  • Homestay (including breakfast and dinner): Rs. 3,000 to Rs. 5,000 per night for two people — Rs. 9,000 to Rs. 15,000 total
  • Cab from Bangalore return: Rs. 5,000 to Rs. 7,000 (shared or self-driven reduces this)
  • Lunches and snacks: Rs. 300 to Rs. 500 per day — Rs. 900 to Rs. 1,500 total
  • Entry fees and activities: Rs. 500 to Rs. 1,000 total
  • Total realistic budget for 2 people, 3 nights: Rs. 15,000 to Rs. 25,000


What Most Travel Blogs Get Wrong About Coorg

They make it sound like a series of checklist items. Abbey Falls — tick. Raja’s Seat — tick. Coffee estate photo — tick. Done.

Coorg is not a checklist destination. The best hours I spent there were sitting on the verandah of the homestay at 6am with a cup of filter coffee, watching the mist move through the valley below, hearing absolutely nothing except birds and the occasional sound of someone starting a vehicle far away on the estate road. No sight, no activity, no entry fee. That was the best part.

Go with the intention of slowing down. Coorg rewards that intention more than almost any destination I have visited in India.