Introduction: India’s Most Misunderstood Drink
Every Indian home makes chai differently. This is a fact that is not understood by anyone who has only ever ordered “masala chai” at a café, received a teabag in hot water with a sachet of masala powder, and thought: this must be what Indians drink.
What Indians drink is something made on the stove, in a small saucepan, with real milk — full-fat, not skimmed — and whole spices that have been cracked or crushed before going in. It is simmered, not steeped. It is poured from height to create froth. It is drunk from small glasses, not large mugs.
My grandmother’s chai was the benchmark. She made it four times a day — morning, mid-morning, afternoon, early evening. Same recipe each time, same two cups, same small saucepan that she had been using since before I was born. The inside of that saucepan was permanently stained the colour of strong tea and she considered this a mark of character.
Here is the recipe, with the ratio she finally agreed to measure out when I asked her to.
Understanding the Ratio — This Is Everything
The single most important thing in masala chai is the ratio of water to milk. Most people use too much water. The result is thin, pale chai that tastes like spiced dishwater. The correct ratio for strong, creamy chai is:
1 part water : 1 part milk for very strong, creamy chai (restaurant style)
2 parts water : 1 part milk for strong home-style chai
3 parts water : 1 part milk for lighter chai
For this recipe we use 2:1. This gives a chai that is strong enough to have character but not so thick it coats your teeth.
Ingredients (Makes 2 cups)
- 1 cup water
- 1/2 cup full-fat milk — not skimmed, not toned; full-fat only
- 2 tsp CTC tea leaves (Assam or Darjeeling CTC — not dust, not teabags)
- 5 tsp sugar — adjust to taste; some prefer 2, some prefer 1
For the masala (this makes enough for 8 to 10 cups — store the rest):
- 8 green cardamoms
- 1 small stick cinnamon (about 1 inch)
- 4 cloves
- 8 black peppercorns
- 1/2 tsp dried ginger powder (sonth) — or 1 tsp freshly grated ginger per cup
- Pinch of nutmeg
For the masala: Crack the cardamoms open. Do not powder them finely — crack them roughly so the seeds are exposed but not dust. Lightly crush the cinnamon, cloves, and peppercorns. Mix all together. This is your chai masala. Store in a small airtight jar. Use 1/4 tsp per cup of chai.
Method — The Correct Process
Step 1 — Start with water and spices, not milk:
Pour 1 cup water into a small saucepan. Add 1/4 tsp of your chai masala. If using fresh ginger instead of powder, add 3 to 4 thin slices of ginger now. Place on medium-high flame. Bring to a full boil. Let it boil for 1 full minute — this is where the spices release their oils into the water. Do not rush this step. A spice that has only simmered briefly gives you flavour without depth.
Step 2 — Add tea leaves:
Add 2 tsp CTC tea leaves to the boiling spiced water. Stir once. The water will turn dark immediately. Let it boil for 30 seconds on medium flame. The tea is releasing tannins — this is what gives chai its body.
Step 3 — Add milk:
Pour in 1/2 cup full-fat milk. Add sugar now — 1.5 tsp or to taste. Stir. The chai will turn the characteristic amber-brown colour. Increase flame slightly to medium-high. Watch carefully from this point — milk chai boils over very fast and with very little warning.
Step 4 — The simmer and the rise:
Let the chai come to a boil. The moment it rises to the top of the pan, reduce flame immediately. Let it settle. Raise flame again. Let it rise again. Reduce. This “raising” process — done 2 to 3 times — is what develops the flavour and creates the slight creaminess. Do not skip it. This is the step that separates real chai from boiled milk with tea.
Step 5 — Strain and pour:
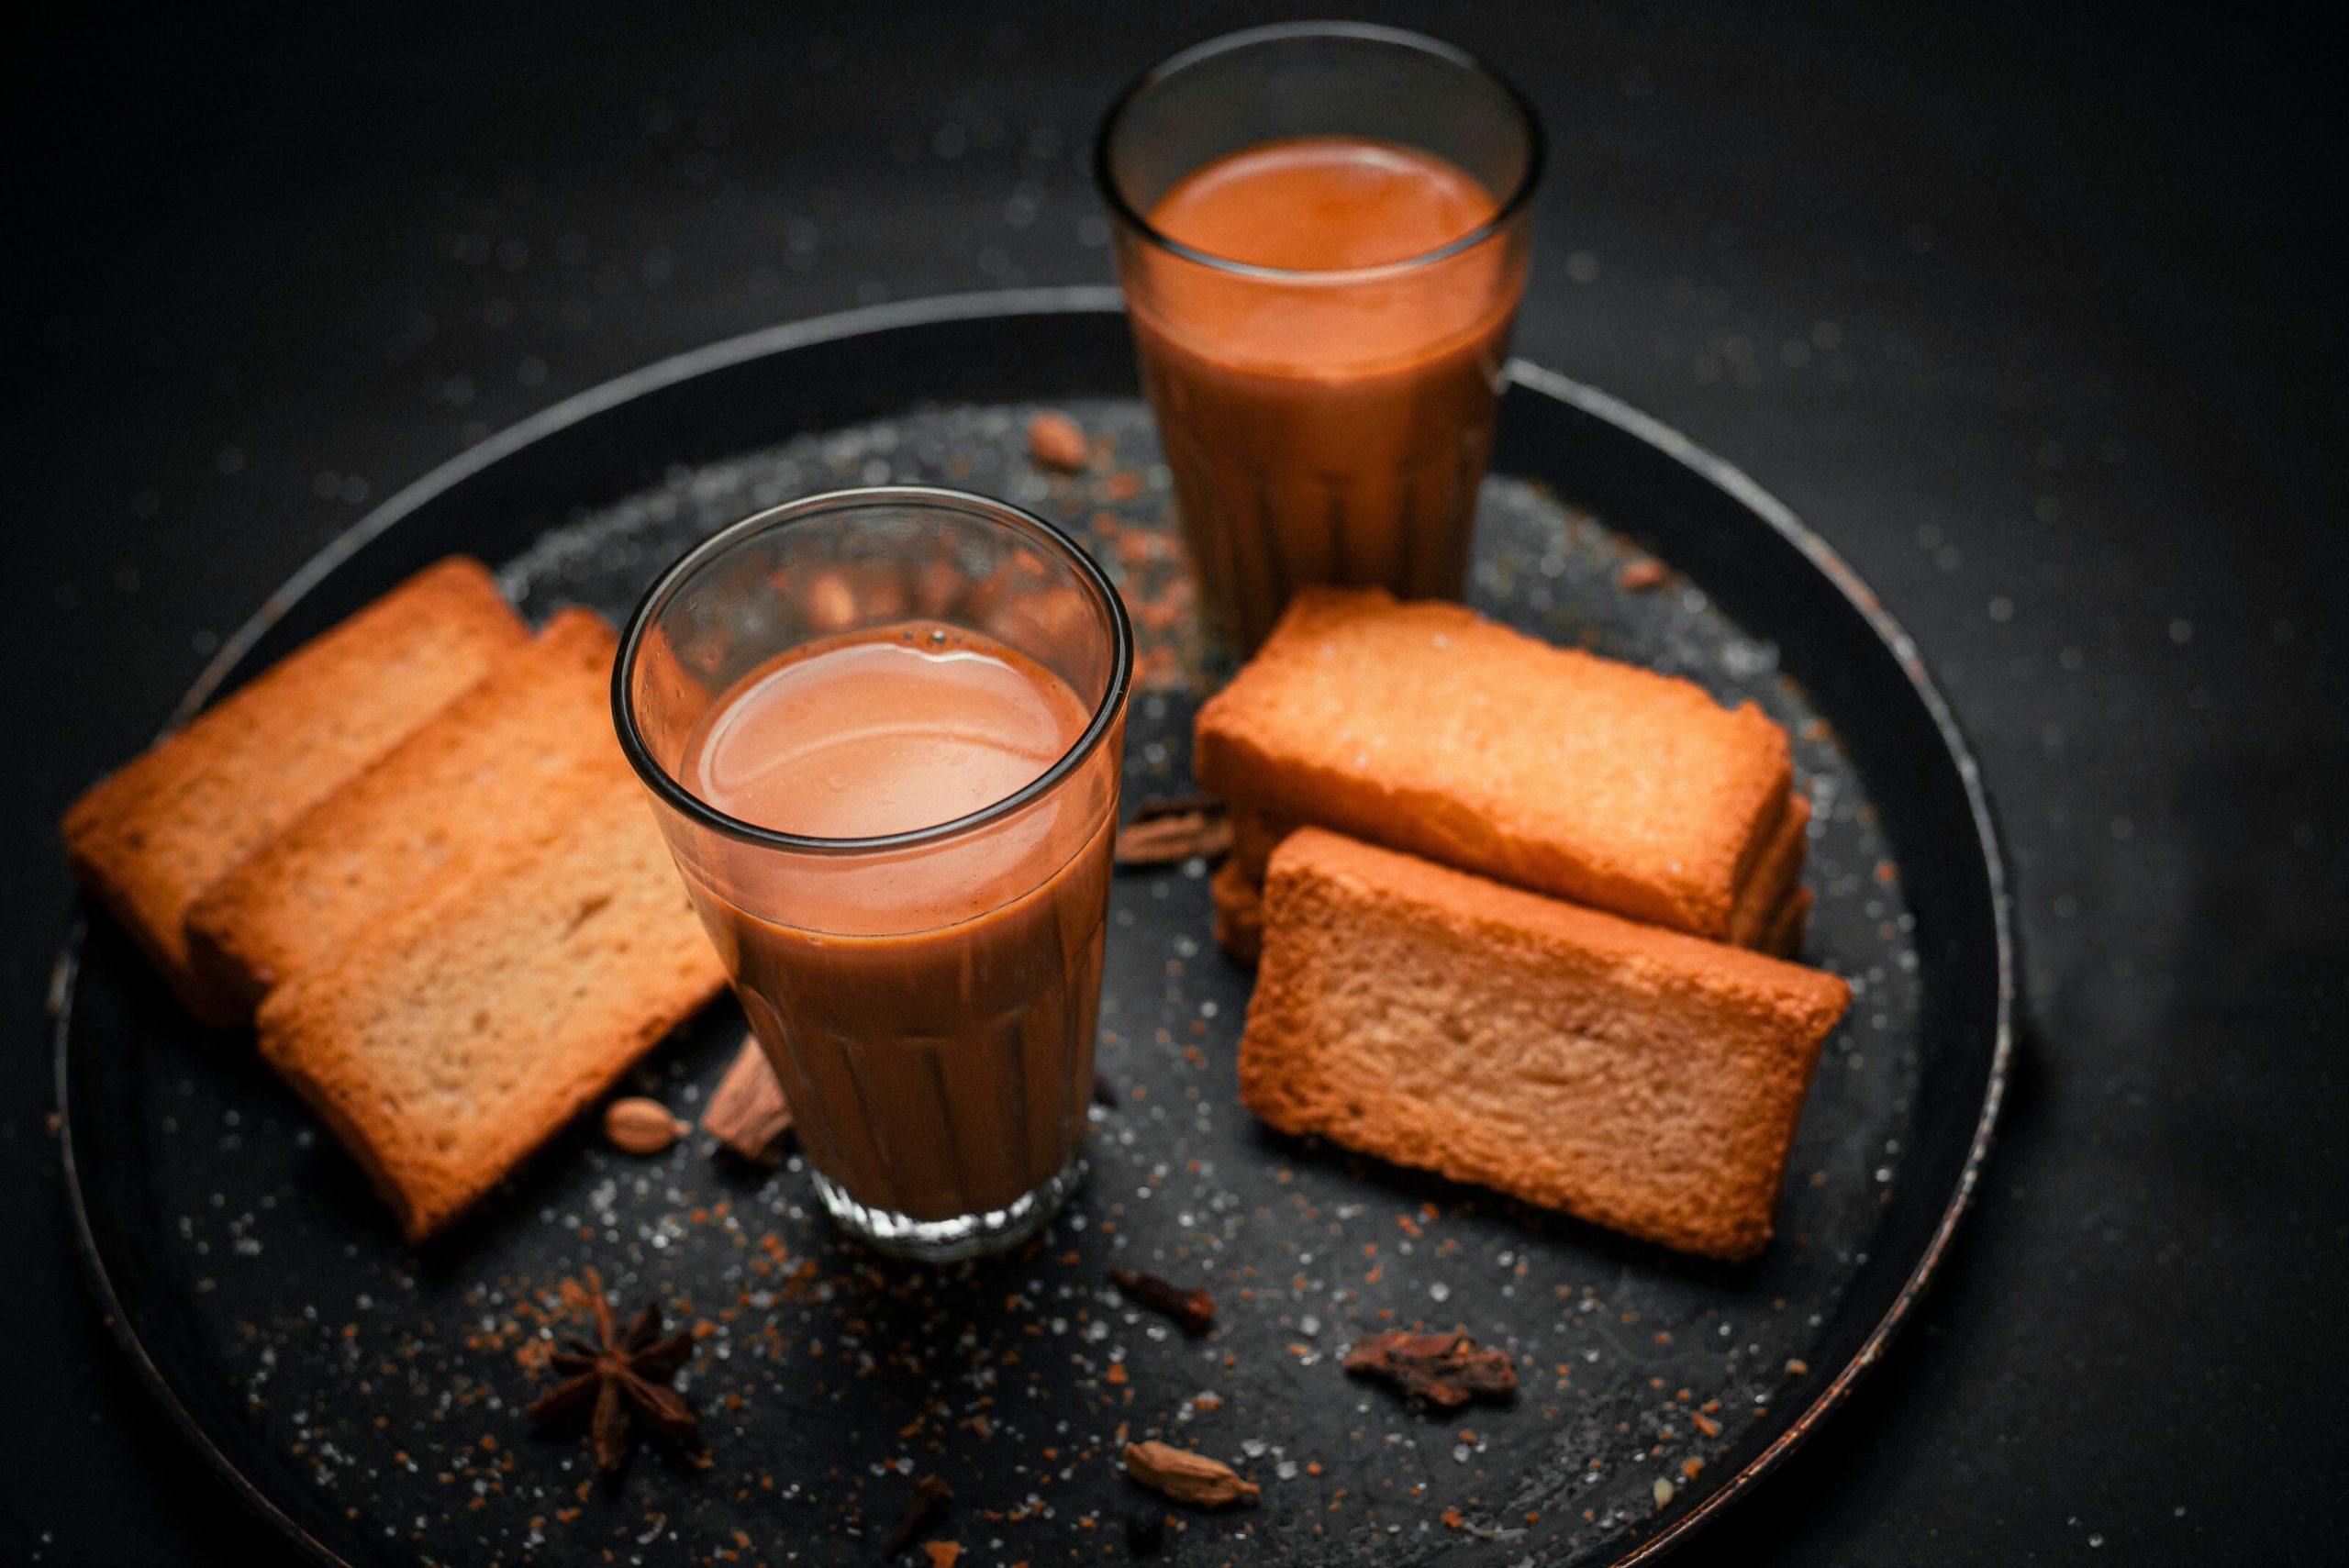
Place a fine-mesh strainer over your glass or cup. Pour the chai through the strainer from some height — 15 to 20 centimetres above the glass. This pouring from height aerates the chai and creates the characteristic froth on top. That froth is not decoration — it is the sign of properly made chai and it adds texture to every sip.
The CTC Tea Question — Why It Matters
CTC stands for Crush, Tear, Curl — the process by which the tea leaf is processed into the small, hard pellets that Indian chai is made from. CTC tea brews quickly, strongly, and with a robustness that handles milk and spices without becoming muddy.
Premium loose-leaf teas — the kind used for English tea — are too delicate for this process. They brew beautifully in water alone but become flat and tannic when boiled with milk and spices.
The best widely available CTC teas for masala chai: Wagh Bakri, Tata Gold, Taj Mahal, or any Assam-origin CTC from a local grocery. Avoid supermarket teabags — they contain tea dust which makes bitter chai.
What Goes Wrong — And Why
Chai is too thin and pale: Too much water, not enough tea leaves, milk added too early, or the spice simmer was skipped. Fix the ratio and boil the spiced water first.
Chai is bitter: Tea leaves boiled too long, or too many tea leaves, or both. 2 tsp per 2 cups is the correct amount. Do not guess upward.
Chai boiled over and made a mess: You looked away during step 4. Milk chai boils over in 3 to 5 seconds once it starts rising. Never leave the stove during this step. Ever.
No flavour from the spices: The spices were not cracked or crushed before going in. Whole uncracked cardamom gives almost no flavour. You must crack the shell and expose the seeds.
Chai tastes like the café version: You used a teabag or tea powder instead of CTC leaves, or you did not do the raising process. Or both.
Variations Worth Knowing
Adrak wali chai (ginger chai): Use 1 tsp freshly grated ginger instead of dried ginger powder. Add at the beginning with the water. Ginger chai is the standard remedy for Mumbai monsoon mornings and any day when you feel a cold coming.
Elaichi chai (cardamom only): Some households use only cardamom in their chai, nothing else. Crack 2 green cardamoms per cup and add at the start. The result is clean, fragrant, and slightly sweet without sugar.
Cutting chai: The Mumbai street version — smaller in volume, stronger in concentration, poured into a small glass that you hold with your fingertips because it is too hot to hold properly. Use the same recipe but make it in smaller quantities and use equal parts water and milk.
How to Drink Chai — Things Nobody Writes Down
Chai is drunk from small glasses or kulhads (clay cups), not large mugs. A large mug of chai cools unevenly — the top third becomes lukewarm while the bottom stays hot. In a small glass you drink it while it is uniformly the right temperature.
Chai with something to eat alongside is the correct context. Parle-G biscuits dipped into chai is a combination that has comforted approximately one billion people. Marie biscuits. Khari biscuit. Rusk that you dip and pull out just before it falls apart. Any of these is appropriate.
Chai made for a guest is always slightly sweeter and slightly stronger than the chai you make for yourself. This is not written down anywhere but every Indian person knows it.