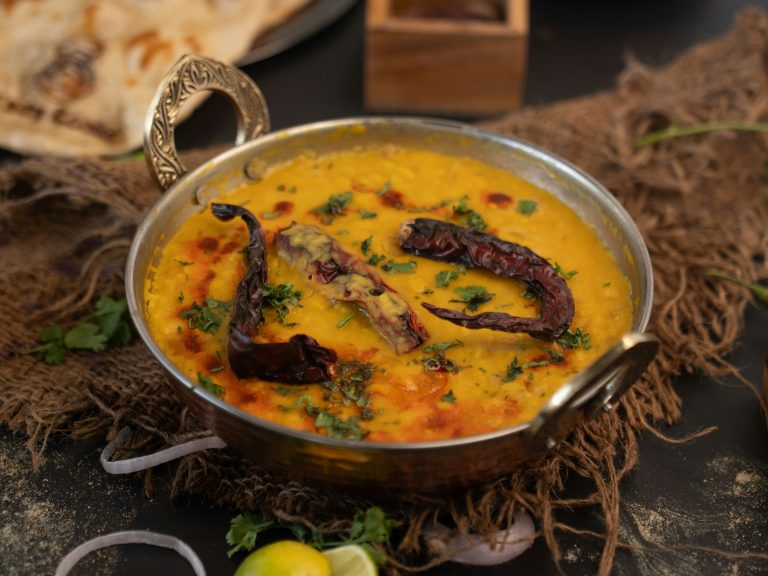
Aloo Paratha Recipe: How My Mother Made It Every Winter Morning in Delhi
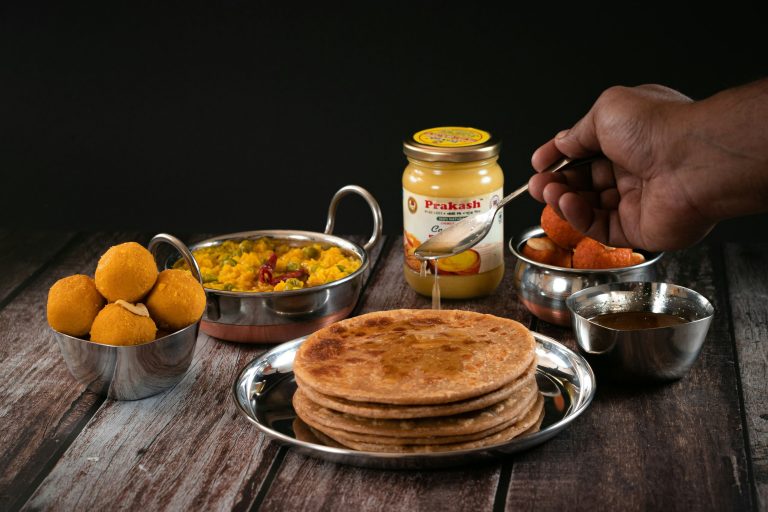
Introduction: The 6 AM Ritual In our South Delhi flat, winter mornings had a sound before they had a light. It was the sound of my mother pressing dough against the tawa — a soft rhythmic thud that meant it was cold outside, school was still an hour away, and aloo paratha was happening. She made them without measuring anything. A handful of this, a pinch of that, her hands moving with the confidence of someone who had done this ten thousand times. The parathas came off the tawa glistening with white butter — the kind that comes in a small clay pot from the local dairy, not the yellow block from the supermarket. I never appreciated those mornings until I left home, tried to make aloo paratha in a Pune paying guest accommodation on a single-burner stove, and produced something that looked like a deflated football and tasted like regret. This recipe is everything I learned after years of practice — and several conversations with my mother in which I finally asked her to actually measure things while I wrote them down. What Makes a Good Aloo … Read more